XJ Guru

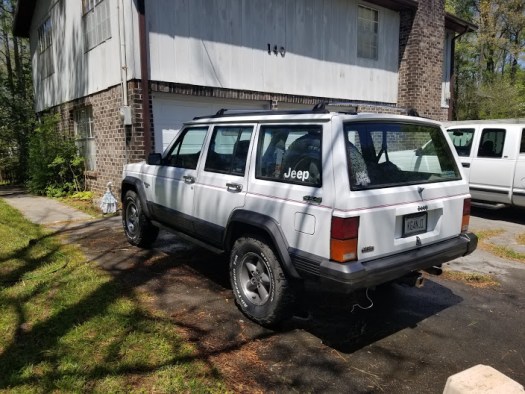
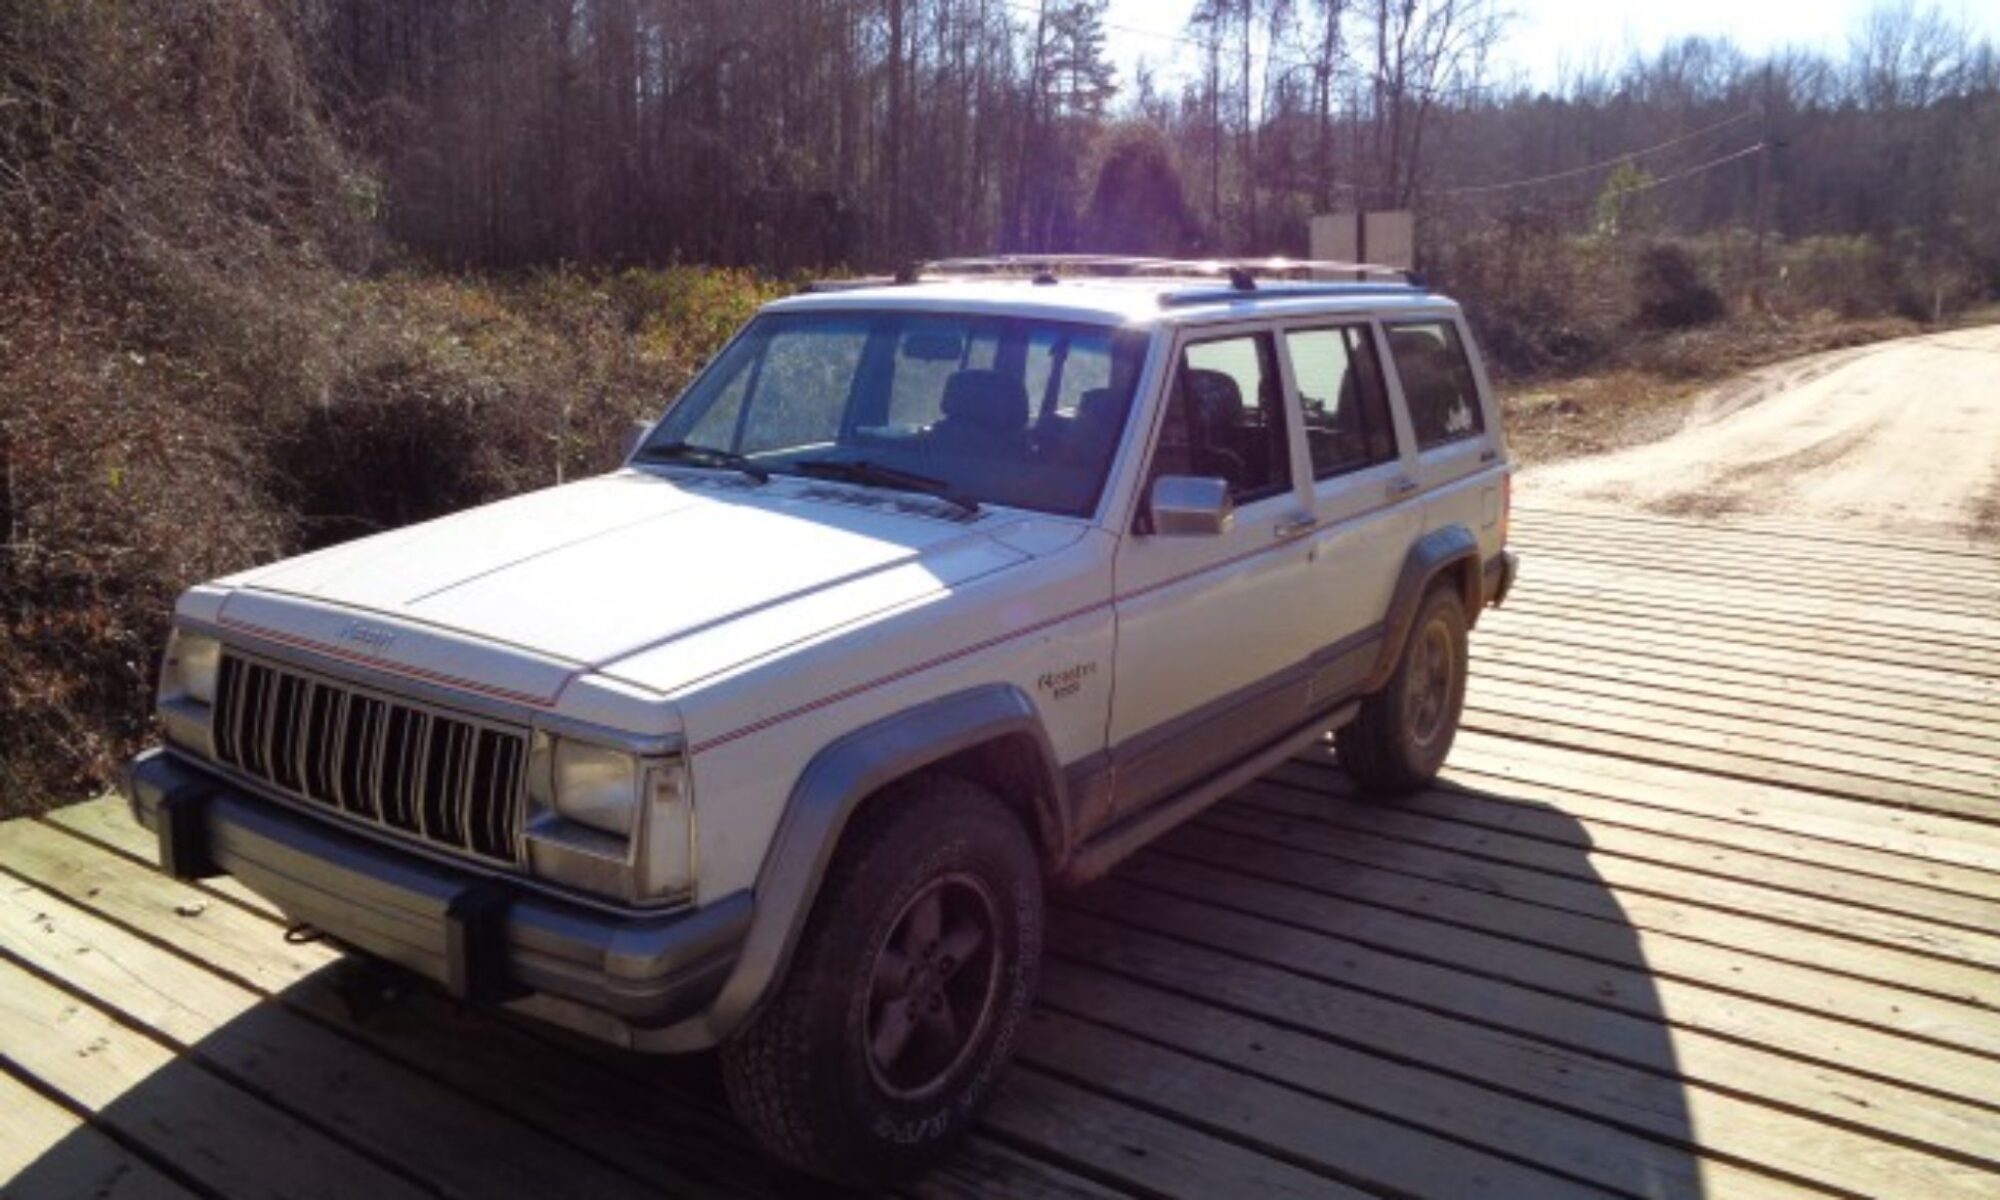
1991 Jeep XJ

I have been working with Jeep Cherokees ever since I bought my first Jeep Cherokee XJ in 1986. It was a two-door with a 2.5L four-cylinder engine. I later upgraded to a 1990 Four-Door with the Renix 4.0 engine. I then traded that for the 1991 shown above. I have been driving that one ever since. The odometer stopped working at 444,444 miles. I have lost track of the actual mileage on this XJ due to having to swap the cluster a couple of times to get one that worked reliably.

Continue reading “XJ Guru”

Audi TT shifter bushings

Installing Deisel Geek Cable saver shifter Bushings in an Audi TT

If you drive an Audi TT, you may have noticed that the shifter bushings can wear out over time, making it difficult to select gears. In some cases, like the one we’re dealing with here, the shift cable may completely detach from the shift lever. Don’t worry, though, with a bit of patience and know-how, you can fix this problem yourself. Here’s how:

Continue reading “Audi TT shifter bushings”

“Step-by-Step Guide: How to Change Transmission Fluid and Filter in a Jeep Cherokee AW4 Automatic Transmission”

If you want to keep your Jeep Cherokee automatic AW4 running smoothly, it’s recommended to change the transmission fluid and filter every 25,000 miles. Here’s how to do it:

Read more: “Step-by-Step Guide: How to Change Transmission Fluid and Filter in a Jeep Cherokee AW4 Automatic Transmission”
  1. Start by removing the bolt that holds the filler tube to the engine block. It can be difficult to reach, so use a long extension and a swivel joint.
  2. Raise the Jeep and support the transfer case. Remove the cross member by removing the four transmission mount nuts (13mm) hidden inside the cross member. Then remove the four bolts (15mm) holding the cross-member to the body.
  3. Remove the drain plug and let the fluid drain into a large pan. You’ll need about a gallon to five quarts of space.
  4. Remove the perimeter bolts (10mm) of the transmission pan. Leave a couple in the front partially threaded in to allow the pan to tip back and fully drain.
  5. If the two parts of the filler tube are stuck together, you can remove the pan with the tube still attached. Remove all the pan bolts, then work the hold-down tab over the bell housing from the engine bay. Lower the transmission slightly to make some space between the body and the transmission, then work the pan out with the filler tube attached.
  6. If possible, separate the two parts of the filler tube before removing the pan. It will make reinstallation easier.
  7. Remove the four bolts (10mm) holding the filter to the valve body, and remove the filter, making sure both gaskets come off with the filter.
  8. Inspect the solenoid wiring and make sure the mating surface is clean. Install the new filter and tighten the four bolts.
  9. Clean the inside of the pan and inspect the magnets for debris. The more fuzzy metal there is, the more wear the clutches have. Install the gasket by pressing a few mounting bolts through the gasket to get it lined up.
  10. Line up the pan with the mating surface of the transmission. The pan is glued on at the factory, so you can use a sealant instead of a gasket, but I recommend using the one that comes in the WIX kit.
  11. Install the bolts and tighten them by hand, making sure the filler tube mounting tab is in the proper place in the front of the bell housing before starting any bolts.
  12. Once all the bolts are in place, torque them down to spec. Note that stripped bolts are common, so have a Helicoil kit ready (6mm x 1.0) just in case.
  13. Install the top part of the filler tube. Drop the tube from the top, then align it from underneath. Use a rubber hammer to tap it down into place. Reinstall the mounting bolt on the bell housing.
  14. Raise the transmission back up into position and reinstall the cross member. The transmission may shift a little to one side as it is raised and lowered, so be prepared to pry a bit to realign the cross-member bolts. It’s easiest to mount the cross member to the transmission mount while it is slightly lowered, then jack up the cross member to the body.
  15. Refill the transmission with fresh fluid. It will take about 5 quarts. Put in four quarts, then run the engine, cycle through the gears, and check for leaks. Add more fluid as needed.

With fresh fluid and a new filter, your AW4 transmission should run smoothly for a long time. Just be sure to keep it properly lubricated and don’t let it overheat or run low on fluid.

Please note that some of the links in this article may be Amazon affiliate links, which means I may earn a small commission if you click through and make a purchase. This commission comes at no additional cost to you, and it helps me to continue to provide helpful content. Thank you for your support!

99 XJ stalls at idle

IAC relearn

Our 99 XJ does not get driven much anymore, Sometimes it sits for a week at a time without being started. Recently it would not start unless the throttle was held open. Then it would not idle. It would stall as soon as you let off the gas.

I hooked up my Altell scan tool and started looking at the IAC values. They seemed a bit off for what I respected. But not having any history on this Jeep I just watched them for a while.

I began by holding open the throttle just enough to keep it from stalling. The target RPM was 740 and I held it around 650 or so. Slowly the IAC value began to adjust. At first, it seemed to go the wrong way but eventually, it began incrementing, and soon the IAC was controlling the idle speed.

I tested by restarting without touching the gas pedal. I also put the Jeep in drive and reverse and the idle speed held fine. I switched on the AC as well and the IAC continued to control the idle.

I have no idea what the IAC lost its memory, but just holding the throttle open enough to keep it running did the trick to reset. I could have done this without a scan tool but by monitoring, I could see when the IAC actually began to regain control and I knew when to let it go on its own.

RENIX crank no start (CPS?)

Dads Wagoneer died in the driveway and then would not restart

I got a text form my mom that their Wagoneer had died in the driveway blocking their other car. I did not have much time that day so I just used a strap and towed it out of the way. I tried a few things but I could not get it to start and I assumed it was the CPS.

The story was , Dad had driven it from the barn to the house and it had started fine. He left it running while he loaded up some food they were taking to some one from the church. As he was fastening his seat belt the engine stopped. Then it would not restart.

The next day, I loaded it on the my trailer and took it to my shop. There, I hooked up my REM and got codes for the Crank Sensor and the cam sync sensor. RENIX computers don’t do OBD type codes and a REM is required to diagnose.

I knew the RENIX will run fine with the sync sensor. This Jeep has been running with out one for a while. The computer just makes a guess as to which bank it is on at start up and it runs fine even if it gets it wrong. I had also suspected the CPS was going bad for a while so I had stashed a spare in his glove box.

On the lift, I pulled the front driveshaft as I can’t get my arms up to the bell housing with it in the way. Then I removed the two bolts that hold the sensor in place. That is when I found the rubber cover over the hole was missing when I heard the bolt drop inside the bell housing.

I then had to remove the inspection plate. Once I did, the bolt was just sitting int he bottom and easy to remove. I left it off for the reinstall in case I dropped it again.

I inspected the old sensor and saw evidence that the wire had been too close to the exhaust. Even the cover over the wires had melted. Likely the sensor is fine but the wires are no longer making contact.

I carefully routed the new wire to be as far away from the exhaust as possible. I think I will add some heat resistant covering later to try to make this one last longer.

With the new sensor plugged in the XJ Wagoneer started right up. The only code showed by the REM was the cam sync so I returned the Jeep to my Dad. Hopefully it will be ready for service next time he needs it.