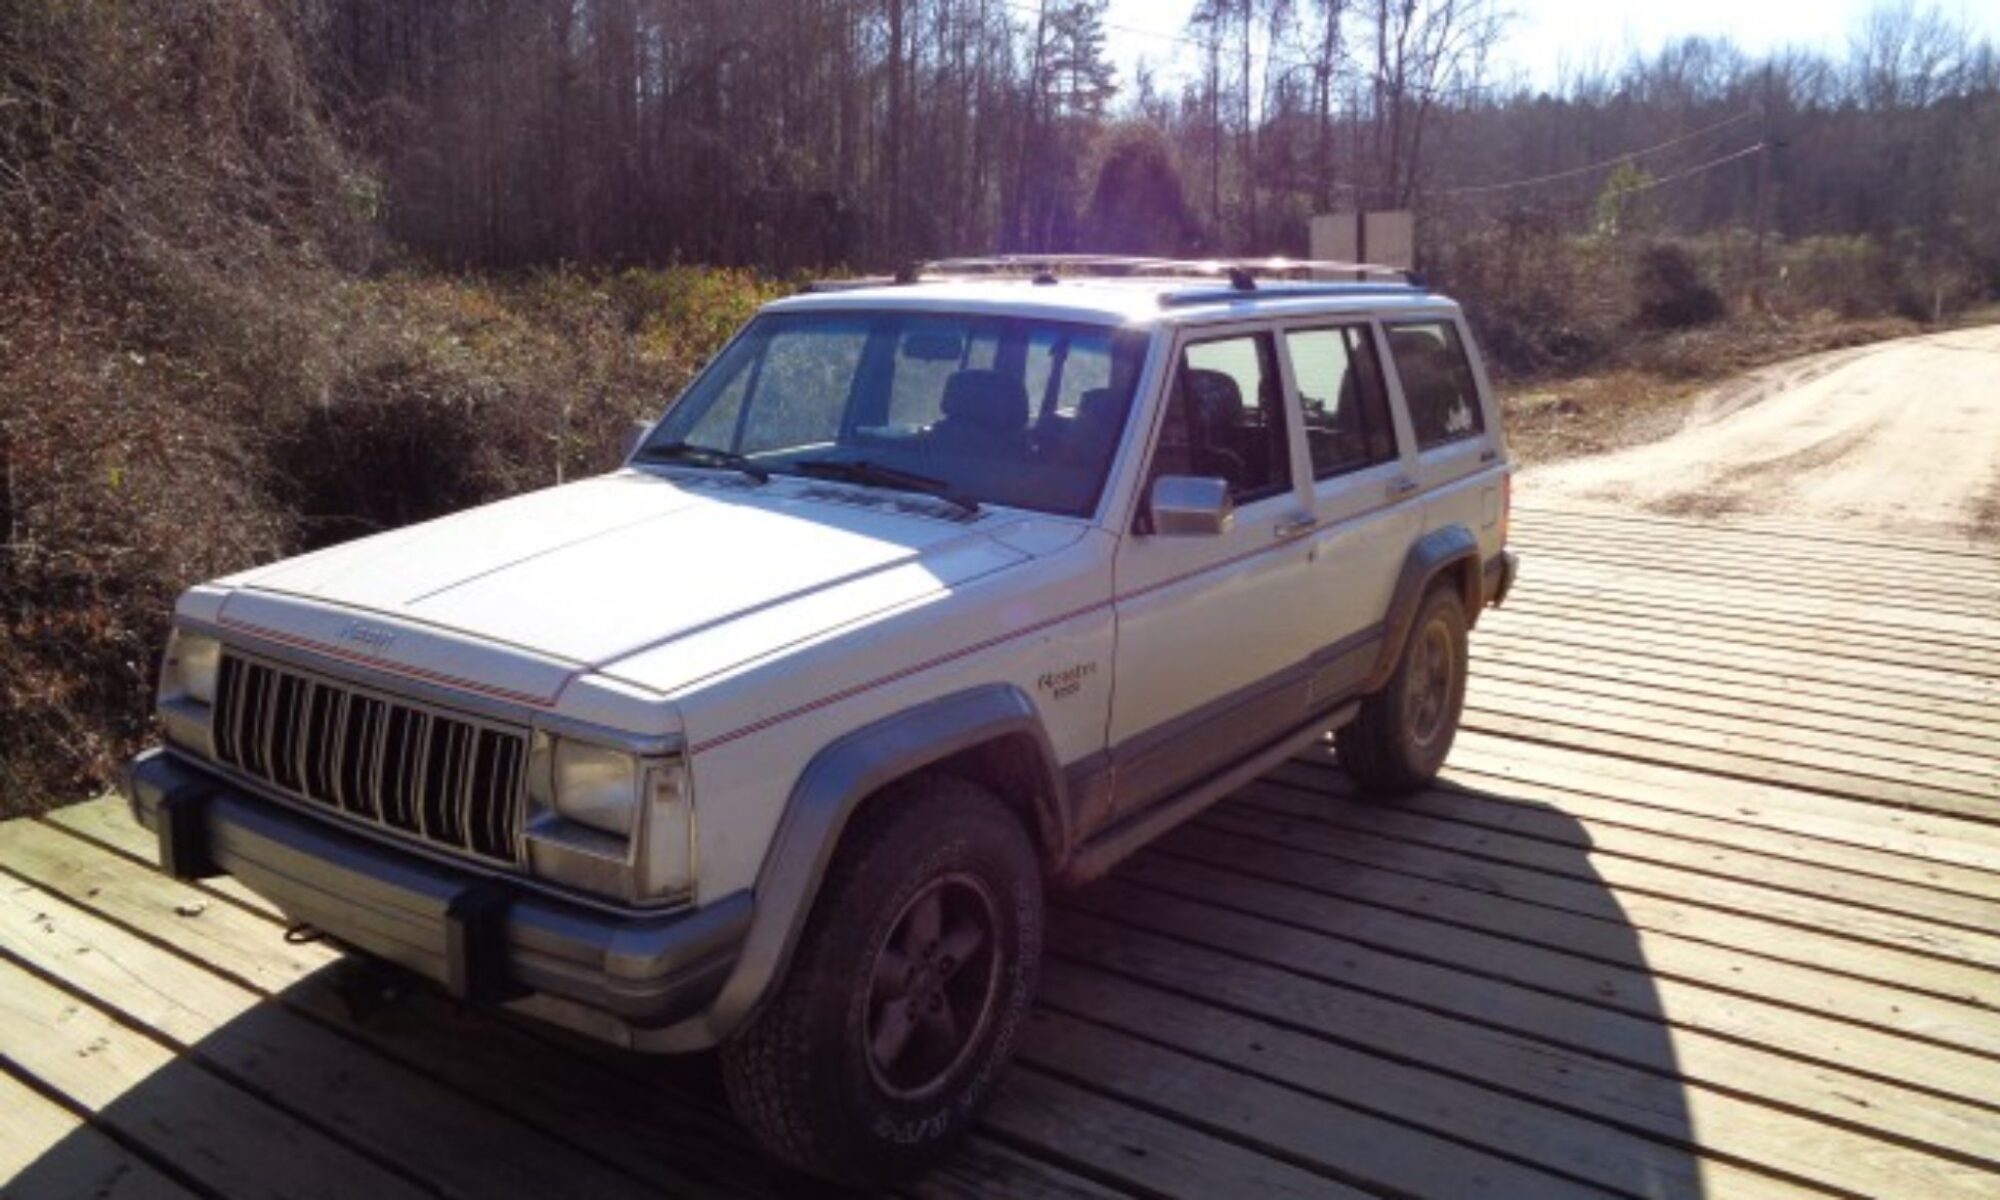
Replcing the power steering pump on my 1991 Jeep cherokee
I have been noticing some intermittent drop out of power assist on my Cherokee for a few weeks now. I tried overfilling the reservoir in case there was an air bubble. That lasted for a while, but today the power assist was dropping out at some very inopportune times. So, since I had a new pump on the shelf I decided to change it out.
Since I don’t have an air box, I did not have to remove it. I did remove the electric fan just to get a little better access.

I began by removing the hydraulic lines. I was very careful when taking off the return line not to break the plastic nipple coming out of the tank. The spare pump I had did not have a new tank and I had to reuse the one I had.

I used a 5/8 wrench to remove the pressure hose. I let the fluid drain out as I removed the rest of the bolts.

Next I loosed the top bolt and the two on the back. I used a gear wrench to get to these. I then loosened the hold down nut on the adjuster and loosed the belt. Having the fan out made this easier.

Next I removed these bolts completely. I then removed the two that hold the bracket to the water pump. One uses a 1/2 or 13 mm the other a 9/16. There is also a bolt in the bottom that uses a 1/2 or 13mm to loosen.


I then removed the pump and bracket assembly and put it inthe vise. I then used a pulley removal tool to remove the pulley.


Next I removed the two clips that hold the tank in place. They have a small clip inside that needs to be lifted with a screwdriver while tapping the clamp off the tank. Note that the two are mirrored so keep track of which goes where.

The tank just pulls off after the clips are removed. Mine had a filter in the joint that needed to be transferred to the new pump. I used the new O ring that came with the new pump.


I then pulled the pump off the bracket by removing the three bolts. I then bolted the new pump in place to make it easier to hold in the vise.
Press the tank in firmly to seat the O ring and tap the clips into place.


Next I remounted the pulley using the pulley install tool. Be careful not to press it on too far like I did. If you do, you will have to use the removal tool again to pull it back out to the proper spot.


Next I put the assembly back in the Jeep. I used the top bolt to hang everything while I started the other three bolts. Don’t tighten any until they are all started. And don’t forget that bottom bolt.

Next I put the belt in place and installed the remaining bolts. I tensioned the belt and locked down the tensioner nut.
I then reinstalled the hydraulic lines. I used the new O ring in the kit for the pressure hose.
I left the electric fan out until after testing. I filled the reservoir with fluid. I then jacked up the front axle and slowly turned the wheels back and forth a few times while watching for bubbles in the reservoir.

After there were no more bubbles, I topped up the fluid and started the engine. I cycled the steering back and forth a few more times. I checked for leaks and retensioned the belt. I then installed the electric fan.


