How to replace the Throttle position Sensor on a Renix Jeep Cherokee XJ.
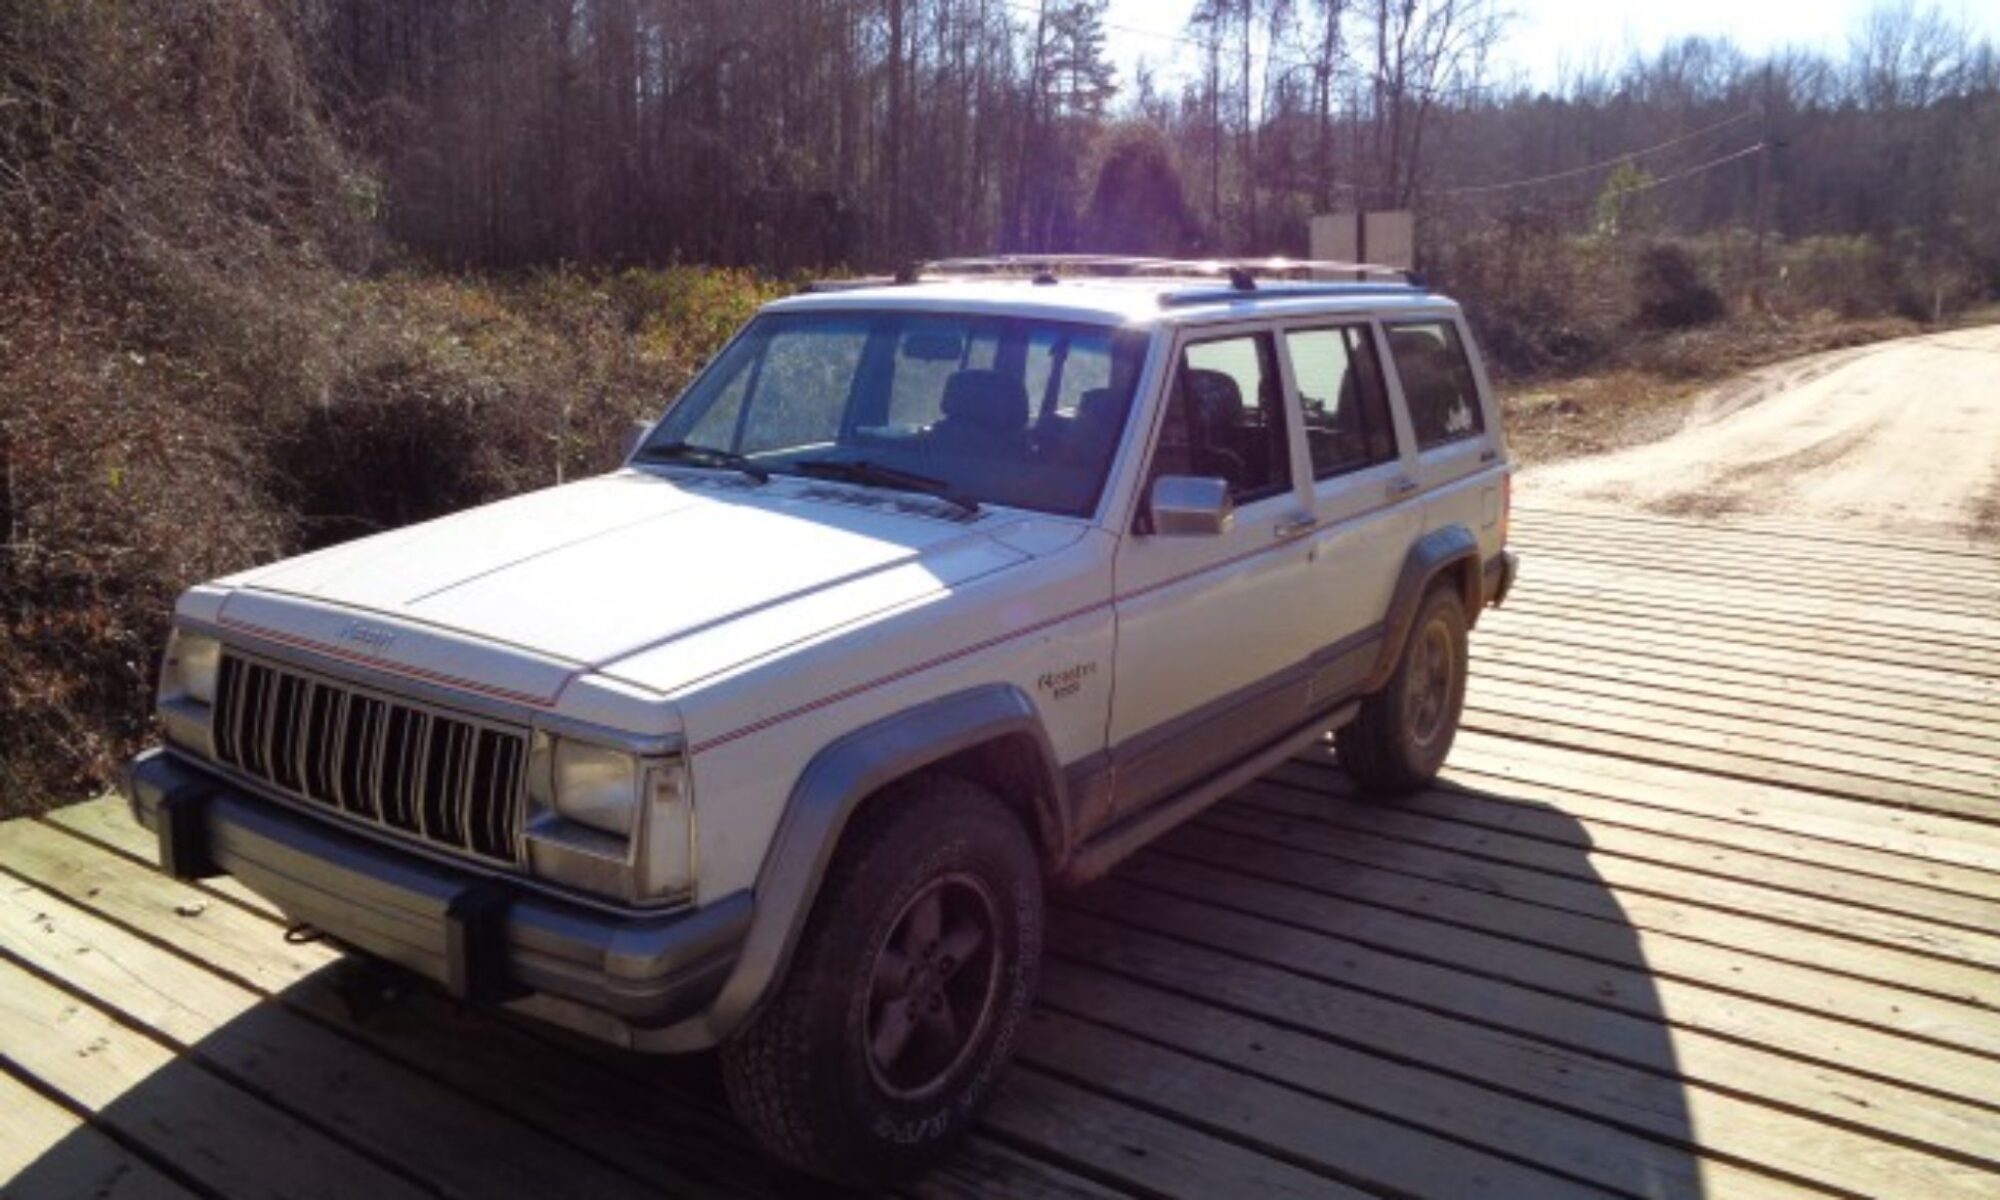
My Dad’s Wagoneer has a 4.7 Stroker motor from Titan engines. It is lots of fun to drive. The wood grain panels make it kind of a sleeper.
Lately it has had a couple of issues. First the torque converter would not lock up causing excessive RPMS on the highway. This did not help the already poor gas mileage.
Second, it had a bad stumble transferring from closed throttle to part throttle. Sometime the engine would even stall if you did not give it enough gas or gave it gas too quickly.

I hooked up my Renix Engine Monitor from Nick In Time designs and instantly saw the throttle position sensor value was out of whack. Nick’s software even gave a handy yellow warning light telling me something was wrong.
After I confirmed it was not just a wiring issue, I ordered a new module from Amazon. Part number 3i304650 .
The sensor is mounted the throttle body with two Torx bolts. There are two electrical connection on the automatic version. I had to remove the air duct from the air box to access them. I also removed the vacuum line form the manifold to the valve cover connection.
With the two screws out the sensor lifts off. Note that the sensor is driven by a tab on the throttle plate. Take care to properly line up the tab on the new sensor so that the throttle will turn it in operation.
I found this was easiest done by installing the sensor at 2 o’clock and rotating it back to twelve to get the tabs to line up. Then I replaced the two screws. I had a bit of trouble reaching the lower one but I eventually got it.

Don’t tighten the screws down all the way just yet. Leave the loose enough to adjust the TPS base setting. This is 17 percent of the supply voltage.
I used the REM scanner to set mine. Otherwise you will have to probe the wires with a volt meter and do some math.

The engine runs much better now with no hesitation. And the torque converter comes in just like it is supposed to. I will have to see if this repair actually helps the gas mileage.


