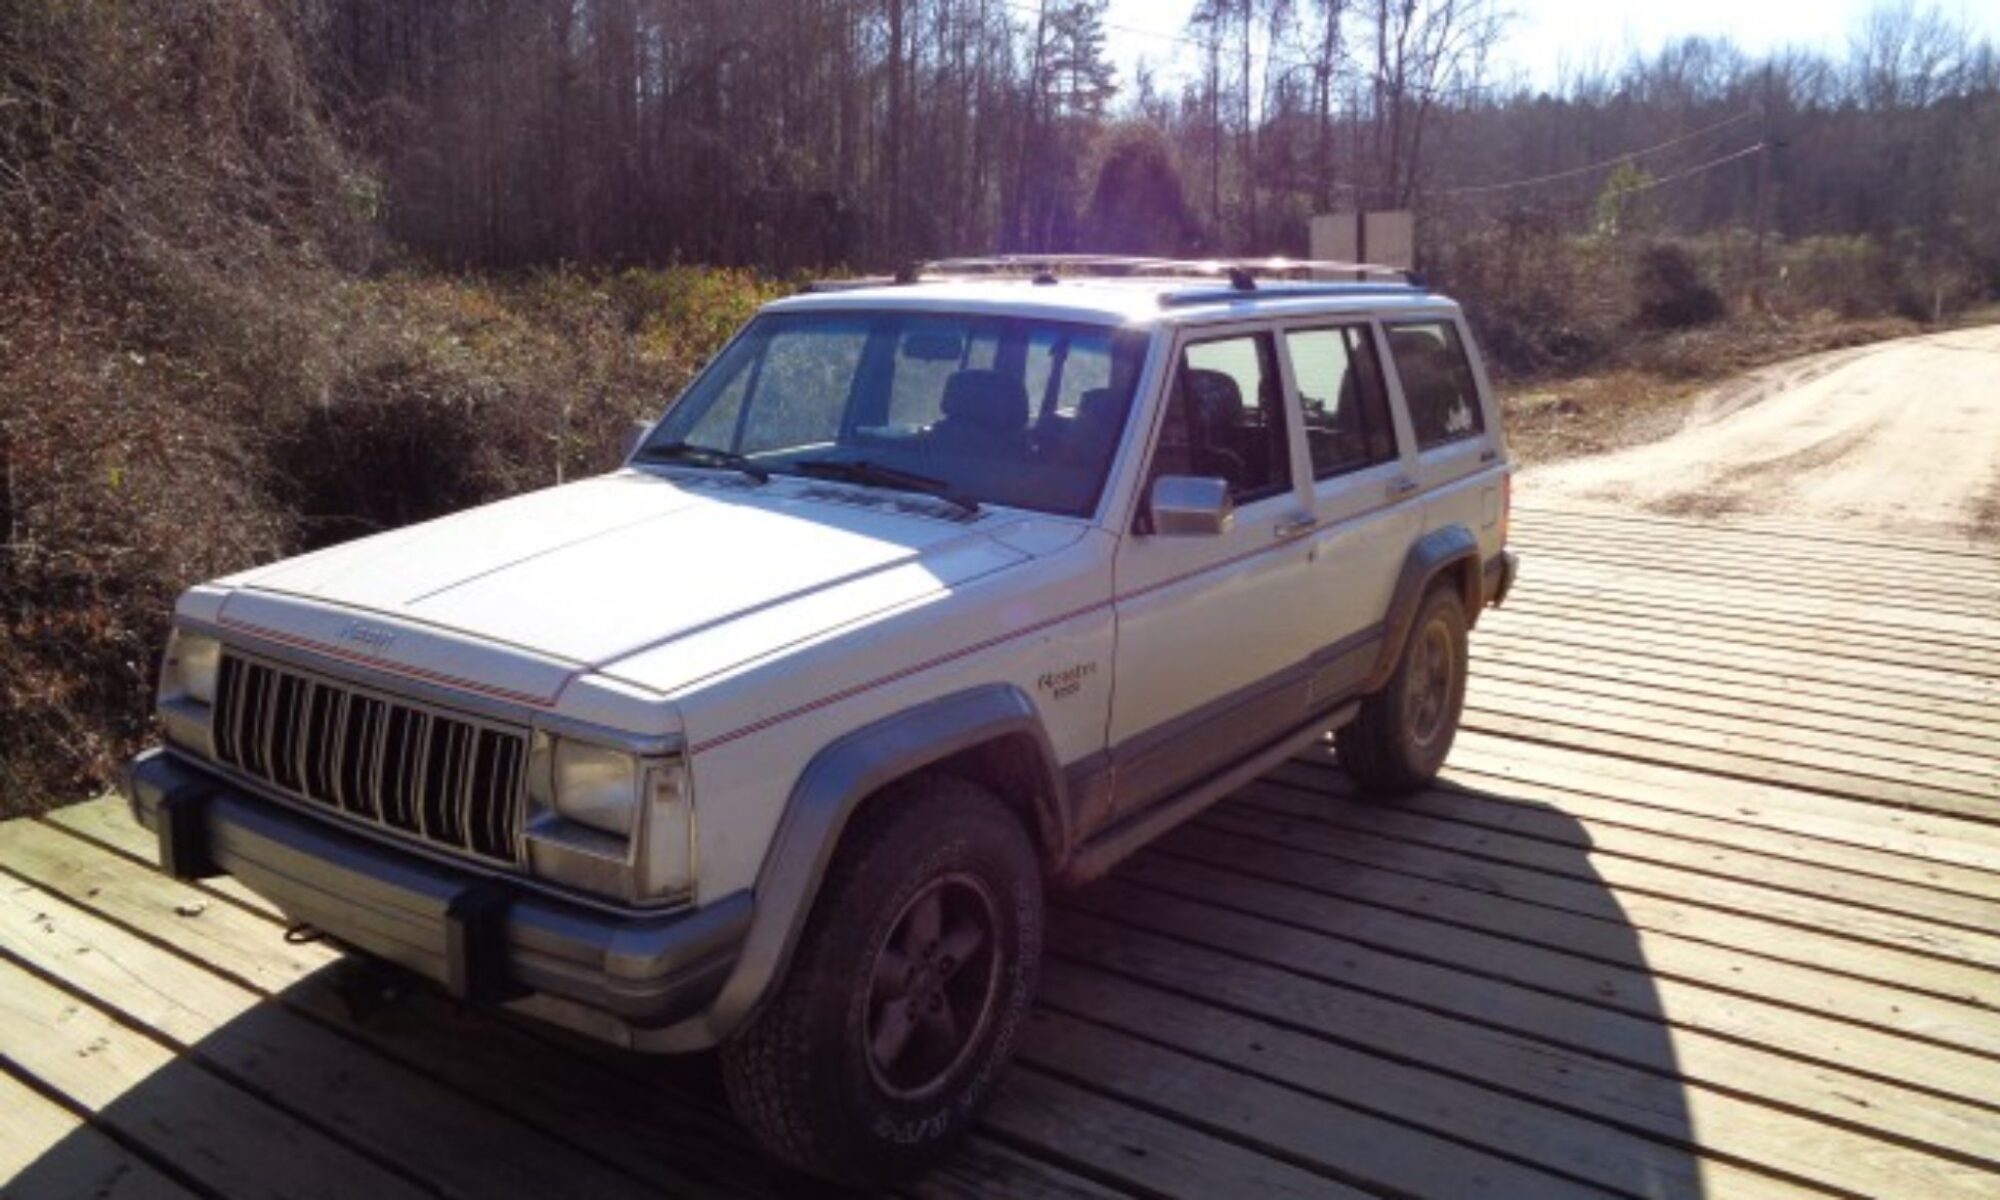
How to replace the muffler on an XJ Jeep Cherokee

When Dad finished painting my son’s Jeep Cherokee he sent it to me for some mechanical issues. The first one I tackled was the loose steering and off center steering wheel. Next on the list was the holey muffler.

I began by cutting out the old muffler with a Sawzall. I cut the tube off close to the muffler housing leaving the pipe on the adjoining pieces.

Next, I used a cut off wheel to slice the old pipes being careful not to cut too deep into the pipe below as I was reusing those. I then used a chisel to open up the cut pipes and use vise grips to peel them off the pat I was reusing.
I then used a grinder to clean up the rust on the old pipes so they would slide into eh new muffler easily. I had a little trouble with a too-tight fit of the tail pie and that required cutting a slot in the muffler outlet tube to allow it to expand enough to let the warped tail pipe slide in. The tube had been distorted by the old muffler clamp.
I removed the two hangers on the tail pipe to get the alignment right and then reinstalled them. I then installed new clamps on the muffler.

I then lowered the Jeep and started it up. It is much quieter now and he should have no trouble ordering in drive-thrus now.

